12 How to Use a Custom Golf Ball Stamp Step-by-Step Tutorial
Personalizing your golf balls with a custom golf ball stamp is an easy and fun way to stand out on the course. Whether you want to make your balls easily identifiable or simply add a touch of personal flair, a custom stamp is the perfect solution. In this tutorial, we’ll guide you through each step of using a custom golf ball stamp effectively. Let’s get started!
- Easy Identification: With a unique mark, you’ll always know which ball is yours.
- Personal Expression: Showcase your personality or brand with custom designs.
- Cost-Effective: It’s an affordable way to add a personal touch to your golf equipment.
- Convenience: Quickly mark all your golf balls without the need for additional tools or complicated processes.
Materials Needed
Before we dive into the step-by-step process, let’s gather all the necessary materials. You will need:
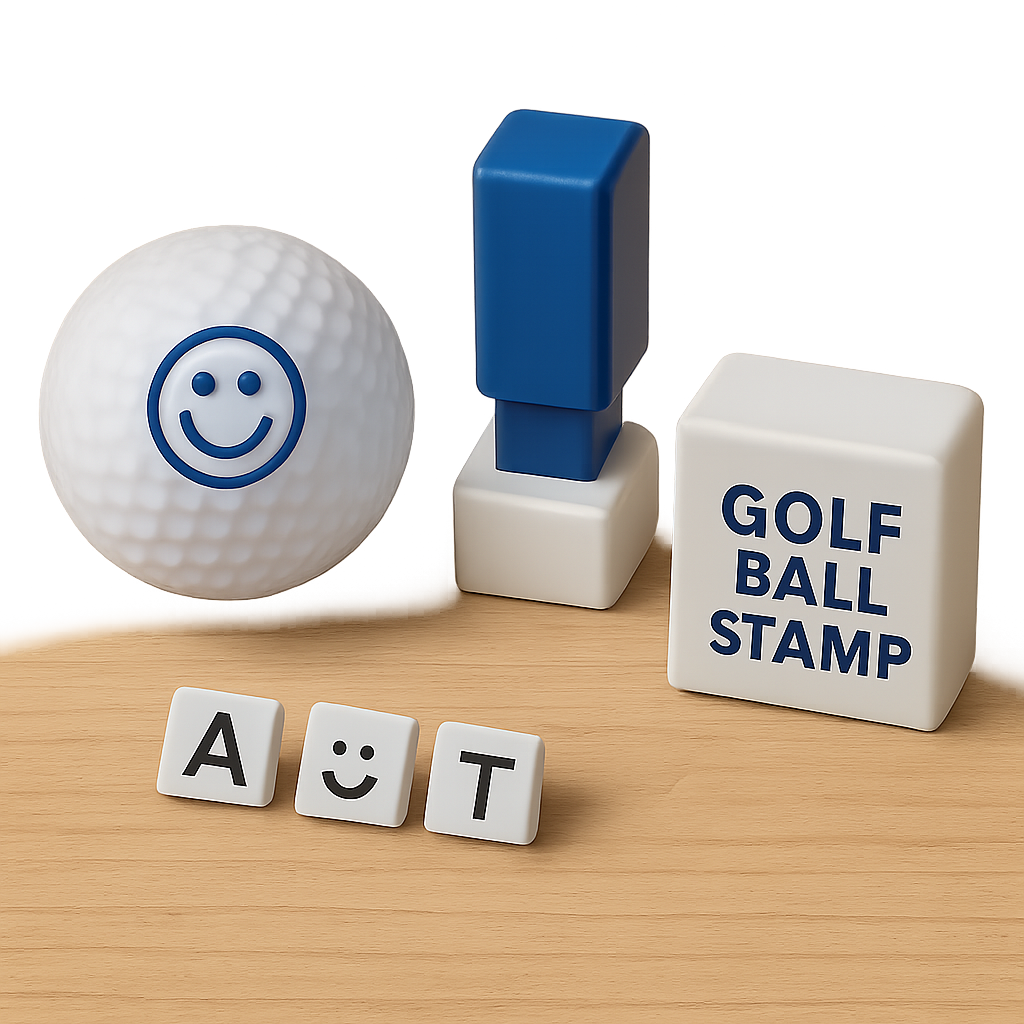
- Custom Golf Ball Stamp: Available at customgolfballstamp.com and other retailers.
- Ink Pad: Often included with the stamp or can be purchased separately.
- Golf Balls: Ensure they are clean and dry before stamping.
Step-by-Step Guide to Using a Custom Golf Ball Stamp
Step 1: Preparing the Golf Ball
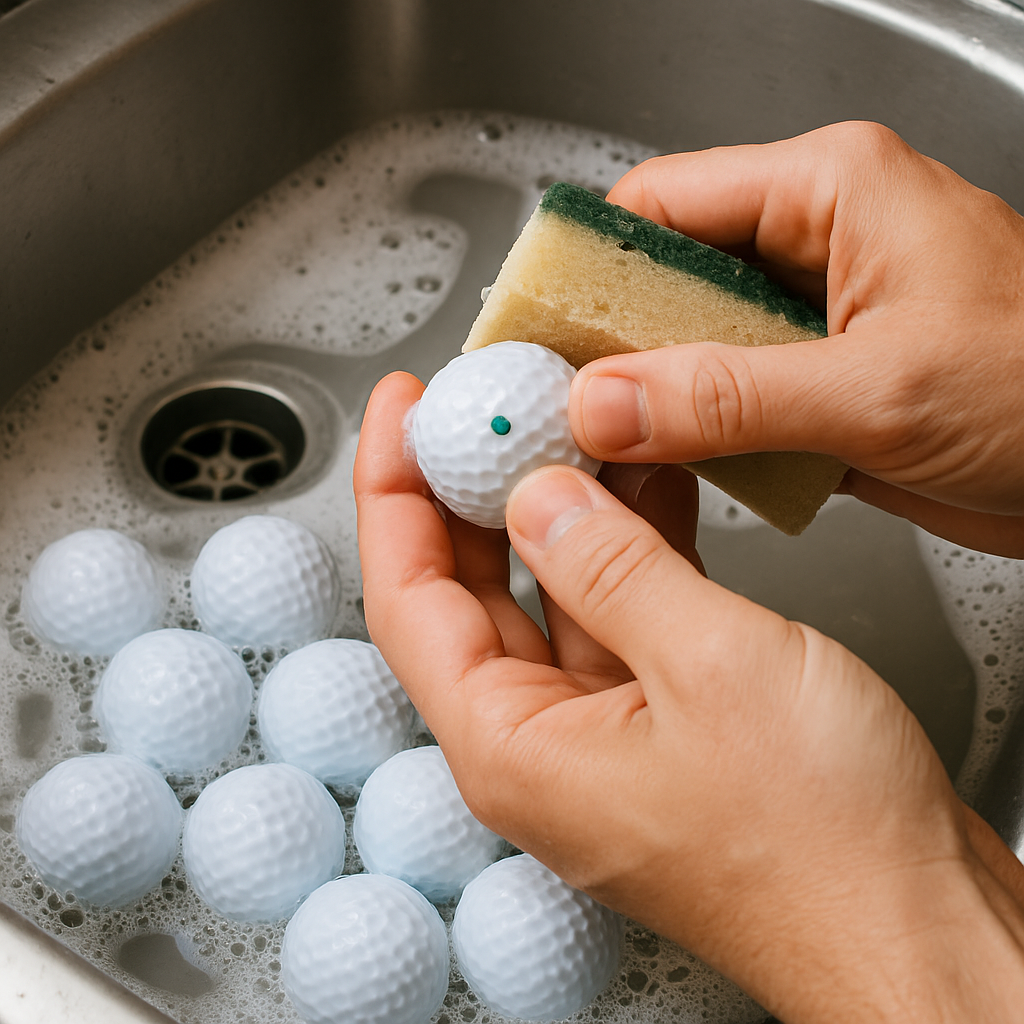
- Clean the Ball: Wipe your golf ball with a damp cloth to remove any dirt or debris. This ensures a smooth surface for the ink to adhere to.
- Dry the Ball: Use a dry cloth to completely dry the ball. Moisture can prevent the ink from setting properly.
Step 2: Setting Up the Stamp
Once your golf balls are clean and dry, it’s time to set up your stamp.
- Open the Ink Pad: If this is the first time using your ink pad, remove any protective covers.
- Test the Stamp: Before stamping your golf balls, test the stamp on a piece of paper to ensure the design is clear and the ink flows smoothly.
Step 3: Stamping the Golf Ball
Now that everything is set, you’re ready to stamp your golf balls.
- Position the Stamp: Hold the stamp in your dominant hand and position it over the golf ball. Make sure the design is facing the right direction.
- Apply Pressure: Gently press the stamp onto the ball, applying even pressure. Hold it in place for a few seconds to ensure the ink transfers properly.
- Lift the Stamp: Carefully lift the stamp straight up to avoid smudging the design.
Step 4: Letting the Ink Dry
After stamping, it’s crucial to let the ink dry completely before handling the ball.
- Set Aside: Place the stamped ball on a clean, flat surface.
- Wait to Dry: Allow the ink to dry for at least 30 minutes. Avoid touching the stamped area to prevent smudging.
Tips for Using a Custom Golf Ball Stamp
- Practice Makes Perfect: If you’re new to using stamps, practice on paper or an old ball to get the hang of it.
- Consistent Pressure: Apply consistent pressure to ensure an even ink transfer.
- Regular Cleaning: Wipe the stamp clean after each use to prevent ink build-up.
Creative Ideas for Custom Golf Ball Stamps

Custom golf ball stamps aren’t just for practicality; they can also be a creative outlet. Here are some fun ideas for your stamp designs:
- Monograms: Use your initials for a classic and sophisticated look.
- Logos: Represent your favorite sports team or brand.
- Graphics: Choose fun images like animals, symbols, or patterns.
- Messages: Add motivational quotes or humorous sayings.
Maintaining Your Custom Golf Ball Stamp
To keep your stamp in good condition, follow these maintenance tips:
- Store Properly: Keep your stamp in a cool, dry place to prevent the ink from drying out.
- Clean Regularly: Use a damp cloth to gently clean the stamp after each use.
- Refill Ink: If your stamp starts to fade, refill the ink pad as needed to maintain vibrant prints.
Frequently Asked Questions
Can I use any ink with my golf ball stamp?
It’s best to use ink specifically designed for golf ball stamps. These inks are formulated to adhere to the ball’s surface and resist smudging.
How long does the stamped design last on the golf ball?
With proper application and drying, a stamped design can last several rounds of golf. However, exposure to water and heavy use may cause fading over time.
Can I remove the stamp from my golf ball?
Yes, you can remove the stamped design using rubbing alcohol or a gentle solvent. However, this may not completely remove the design, and repeated cleaning can affect the ball’s surface.
Conclusion
Using a custom golf ball stamp is a simple and effective way to personalize your golf balls and make them easily identifiable. With this step-by-step tutorial, you can confidently stamp your golf balls and enjoy a touch of personalization on the course. Whether for practical purposes or creative expression, a custom golf ball stamp is a valuable tool for any golfer. Happy stamping!