118 How to Wrap with Tissue Paper Pro Tips for a Flawless Finish
Wrapping gifts is an art, and tissue paper can elevate the presentation to a whole new level. Whether you’re preparing for a birthday, holiday, or any special occasion, mastering the use of tissue paper can transform your gift-giving experience. In this guide, we’ll explore various tissue paper wrapping techniques, from simple folding methods to creative crafts, ensuring your presents always have a flawless finish. With just a little practice and creativity, you can turn even the simplest gift into a masterpiece that reflects thoughtfulness and care.

Benefits of Tissue Paper
- Variety: Available in numerous colors and designs, tissue paper allows you to match your wrapping to the recipient’s preferences or the theme of the event. Whether you’re wrapping for a child’s birthday or a sophisticated anniversary, there’s a tissue paper to suit every need.
- Flexibility: Easy to manipulate for various wrapping styles, tissue paper can be folded, crumpled, or layered to achieve different textures and effects. Its adaptability makes it suitable for both casual and formal occasions.
- Protection: Acts as a cushion for fragile items, preventing scratches and breaks during handling. This added layer of protection is essential for gifts like glassware, ceramics, or delicate electronics.
- Eco-friendly: Reusable and recyclable, making it a sustainable choice. Many tissue papers are made from recycled materials, and their lightweight nature means they require less energy to produce and transport.
Basic Tissue Paper Wrapping Techniques
The Classic Overlay
The classic tissue overlay technique is a simple yet effective way to wrap any gift. This technique involves layering multiple sheets of tissue paper to create a rich, textured appearance. It’s a versatile method that can be adapted to suit any occasion by varying the color and number of layers.
- Select your tissue paper: Choose colors that complement your gift wrapping paper. Consider the occasion and the recipient’s tastes, and don’t be afraid to mix and match patterns for a unique look.
- Layer the sheets: Place 2-3 sheets of tissue paper on a flat surface, slightly offset to create a layered look. This step not only adds visual interest but also provides extra cushioning for the gift.
- Wrap the gift: Place your gift in the center of the layered tissue paper. Fold the paper over the gift, securing it with tape or a ribbon. The result is a beautifully wrapped gift with a soft, elegant finish.
Tissue Paper as Filler
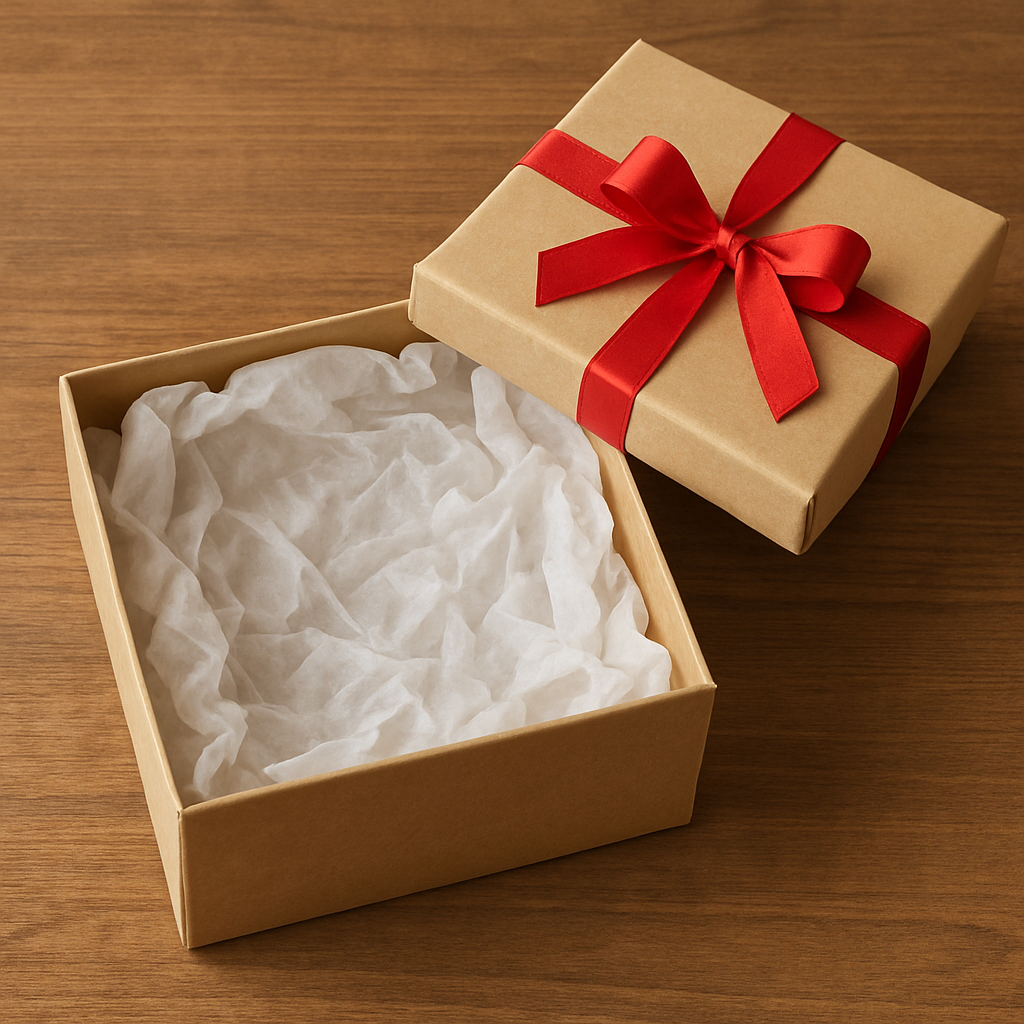
- Prepare the tissue paper: Crumple or fluff the tissue paper for added volume. This step is crucial for creating a full, lush appearance, which can make even a small gift feel more substantial.
- Insert the filler: Place the crumpled tissue paper at the bottom of the gift bag or box. This base layer provides cushioning and helps to stabilize the gift.
- Add the gift: Gently place the gift on top of the tissue paper, adding more around it if necessary. Ensure that the gift is centered and that the tissue paper is visible from the top for a polished look.
Gift Tissue Paper Folding
For a more structured look, consider folding your tissue paper before wrapping. This technique is perfect for gifts that require a tidier presentation. It’s especially useful for gifts that are being mailed, as the neat folds provide additional protection.
- Fold the tissue paper: Depending on the size of your gift, fold the tissue paper into quarters or halves. This creates a clean, crisp edge that enhances the overall presentation.
- Wrap the gift: Place the folded tissue paper on top of your gift, aligning the edges for a neat finish. This method works particularly well for rectangular or square gifts, where straight lines enhance the aesthetic.
- Secure with tape: Use clear tape to hold the tissue paper in place, or add a decorative ribbon for flair. The finishing touch can be as simple or elaborate as you like, depending on the occasion.
Creative Tissue Paper Crafts
Tissue Paper Flowers
Tissue paper crafts, like flowers, can enhance your gift wrapping by adding a unique, handmade touch. These flowers are not only beautiful but also easy to make, allowing you to personalize your gift even further.
- Cut tissue paper: Stack several sheets and cut them into squares. The size of the squares will determine the size of the flowers, so choose according to your preference.
- Fold accordion style: Fold the squares back and forth in an accordion pattern. This folding technique is key to creating the layered effect of the flower petals.
- Secure the center: Tie a piece of string or twist tie around the center. This will hold the layers together and form the core of the flower.
- Fan out the layers: Gently separate each layer to create a blooming flower effect. Fluff the petals to achieve the desired fullness and shape.
Tissue Paper Pom-Poms

Pom-poms are a playful addition to any gift, providing texture and color. They can be used to decorate the top of a gift box or tied to a gift bag handle for a fun, festive look.
- Prepare the sheets: Stack 8-10 sheets of tissue paper and cut them to your desired size. The more sheets you use, the fuller the pom-pom will be.
- Accordion fold: Fold the stacked sheets in an accordion pattern. This step is similar to creating tissue paper flowers and forms the base of the pom-pom.
- Trim the edges: Cut the ends of the folded paper into rounded or pointed shapes. This creates a more natural petal effect when the pom-pom is fluffed.
- Secure and fluff: Tie the center with a string, then fan out the layers to form a pom-pom. Adjust the layers to achieve the desired volume and symmetry.
Advanced Tissue Paper Wrapping Ideas
Creative Layering
Experiment with layering different colors and patterns of tissue paper for a dynamic visual effect. This technique works especially well for gift boxes, where the layers can be arranged to create a striking contrast.
- Choose your colors: Select 2-3 complementary colors or patterns. Consider the overall color scheme of your gift wrapping to create a cohesive look.
- Layer the tissue paper: Place the sheets at angles to each other for a multi-dimensional look. This creates depth and interest, drawing the eye to the gift.
- Wrap your gift: Fold the layered sheets over your gift, securing them with ribbon or tape. Experiment with different folding techniques to highlight the various layers.
The Diagonal Wrap
For a striking presentation, try the diagonal wrap method. This technique is suitable for square or rectangular gifts and adds a modern touch to traditional wrapping.
- Place your gift: Lay the gift diagonally on the tissue paper. This orientation allows for a unique folding pattern that stands out.
- Fold the corners: Bring one corner of the tissue paper over the gift, then repeat with the opposite corner. This creates a criss-cross effect that is both stylish and secure.
- Secure the sides: Fold the remaining corners towards the center and secure with tape. This method ensures a snug fit and a sleek appearance.
Using Tissue Paper for Gift Bags
Tissue paper for gift bags is a quick and easy way to add flair to your present. Here’s how to do it right:
- Select your tissue paper: Choose a color that complements the gift bag. Consider the occasion and the recipient’s preferences when making your selection.
- Prepare the tissue: Fold the tissue paper in half and fluff it for volume. This preparation step is key to achieving a full, elegant look.
- Insert into the bag: Place the prepared tissue paper in the gift bag, allowing it to peek over the top. This adds height and visual interest, enhancing the overall presentation.
- Add the gift: Place your gift inside the bag, adjusting the tissue paper as needed to ensure a full appearance. Arrange the tissue paper to frame the gift, creating a balanced, attractive display.
Conclusion
Wrapping presents with tissue paper is a versatile and creative process that can elevate the aesthetic of any gift. By mastering these tissue paper wrapping (seidenpapier bedrucken) techniques, you can ensure every present you give is wrapped with care and creativity. Whether you’re using tissue paper as filler, crafting elegant flowers, or experimenting with advanced layering, your gifts are sure to stand out. With practice, you can develop your unique style that showcases your personal touch.
Remember, the key to successful gift wrapping lies in your creativity and attention to detail. With these pro tips, you’ll be ready to tackle any gift-wrapping challenge with tissue paper, creating beautifully wrapped gifts that leave a lasting impression. As you explore these techniques, you’ll find that the joy of gift-giving extends beyond the present itself and into the thoughtful presentation that accompanies it.